Now with a full four games under my belt with a Wraithknight, I'm finally ready to write up a quick Tactica article.

So, the Wraithknight is a jack-of-all-trades who can take on several roles, each of which should fill a gap that your army *will* have after paying the points for one.
But, the best thing a Wraithknight does (no matter what loadout), is punch tanks. There is just nothing better (short of a Titan) at mincing up the battlefield and just mashing a tank line to pieces.
Step 1 - Wargear
There are three builds for taking a Wraithknight.

First, base. That is, two Heavy Wraithcannons and no upgrades. This is still a nasty customer, with two S10 AP2 shots (that cause Instant Death on a 6 to wound, regardless of Toughness), and all the face-punching prowess of any other build. This build is especially useful if your army is short on ranged Anti-Armor. There are two major drawbacks: Low volume of shots, and no Invulnerable Save.
Also remember that any Shoulder-mounted guns on this build are a waste, because a Monstrous Creature can only move and fire two weapons per turn - and a Wraithknight should be moving.

Second, the Wraithsword/Scattershield. Coming in in the middle of the points cost spread, the second build uses the Wraithsword and Scattershield, granting the Wraithknight the ability to re-roll it's to-hit rolls in close combat and a 5++ Invulnerable save. This is the best combination of cost and durability, and gives the Wraithknight the best chances if you wind up going toe-to-toe with Monstrous Creatures more often than not. However, it is only a little cheaper than the third build (especially if you add any of the very expensive Shoulder-mounted weapon options) and has no ranged firepower to speak of.

Third (and my personal favorite), the Suncannon/Scattershield. This is the most expensive of the three, and for it you get the 5++ Invulnerable Save and a Heavy 3, S6, AP2, Blast weapon. I love that - as Terminator blobs are my army's most consistent weakness, this particular weapon is a true gift from above! Especially since Terminators (if they Deep Strike) are clustered in a nice tight ball, perfect for blasting.
To me, this is the best of the three. But that's because my army is not lacking in ways to deal with heavy armor as much as it is ways to deal with tough mobs (Terminators, etc). I also throw in a shoulder-mounted Scatter Laser, which makes it absurdly expensive, but adds a little extra ranged punch, and twin-links the Suncannon, thereby ensuring I get the most out of that hefty points investment.
As I mentioned, this is expensive. It's nearly the cost of a base unit of Rangers on Upgrades alone. But, it fills a niche that many armies are missing, and may well keep that other unit of Rangers you have on the table alive.
*It's worth mentioning here that anyone facing or planning to face Titans or Imperial Knights on the table will benefit most from the base Wraithknight. Very little (short of another Titan) in the game is as good at knocking HP off of a Super-heavy as Heavy Wraithcannons.
Step 2 - Deployment

Wraithknights should be very aggressive, but somewhat cautions. A Wraithknight is a frightening presence on the field, and any enemy general will worry about it whether they want to or not. So, position it in a place you want to either attract fire, or that puts you as close as possible to some of those heavy tanks. With 6 Tounds, T8, and a 12" move, the Wraithknight is tough and *fast,* so getting across the board turn 2 is nearly guaranteed. Make sure you're in a place where you have mobility and can threaten things ASAP, but avoid large blobs of high Strength weapons - such as large Battle Suit units, Sternguard veterans who haven't used their Combi-shots, and Devastators.
If you have it, Fortune is a Wraithknight's best friend, especially with the Scattershield.
Also, especially watch out for large units with either Poisoned (i.e., Dark Eldar infantry) or Fearless mobs who can tie you up in combat indefinitely. Dance around these units, use your speed (and this is another point for my loadout - with Wraithcannons there's no way you could clear infantry blobs - but with a Scatter Laser/Suncannon, he'll make quick work of many of them).
Step 3 - Play

Similar to the above Deployment notes, what you want to avoid in Deployment is what you should also avoid in-game. D-weapons, Poison weapons, Monster Hunters, Meltaguns, Lascannons, etc. will cut right through even that meaty T8/3+. Your chances are better with the 5++, but it won't last forever.
However, hilariously (and just like Wraithlords), Bolters and anything else S4 or under can't hurt a Wraithknight at all. That makes me enormously happy!
The Wraithknight is a Jump-Monstrous Creature, meaning you can move 12" and then charge up to 12", with a re-roll to charge distance. It also gets an S10 Hammer of Wrath, has Smash (no Strength bonus, but there's something to be said for the re-roll to penetrate), and causes Fear just as icing on the cake. Plus, with a Scattershield, if you make a successful 5++ save every unit within 6" (friend and foe) has to take an Initiative test or be reduced to WS/BS 1 for until the following round. Pure gold against those punky Necrons and Tau.
I've had especially good luck moving my on-foot Seer Council up behind the Wraithknight. That way, I can Fortune the 'Knight and give cover to my Seers. It's a great way to move both up the field and keep them both safe(r) at the same time.
Keep moving, use your guns at range, and pick targets early to get up close and personal with. Remember that if you're too cautious, the big guns will get you anyway, so take them out fast.
Some notes on the model:
If you haven't already picked one up, the Wraithknight kit is absolutely beautiful. It's an amazing plastic kit that's a blast to build. Although not very customizable compared to many others, the weapon options and how they attach to the arms allow for a little personalization. Some added bits and creative basing will do wonders for a centerpiece such as this!

My one quibble- the kit as produced only gives you enough arms for two loadouts. That is, two. There are four arms and a total of five weapons you can carry:
Left arm: Scattershield, Heavy Wraithcannon
Right arm: Wraithsword, Suncannon, Heavy Wraithcannon

Since you can build a Knight with all five weapons, it's a shame that the kit falls just that one piece short. This problem is compounded by the fact that most of the pieces are too heavy to magnetize beyond the shoulders (re: magnetizing at the wrist wasn't an option, for me at least) so you're stuck picking your favorite two loadouts.
It's worth saying though, that if you really want to use the whole kit, you could use one of the Wraithcannons as the Suncannon, or Suncannon as one of the Wraithcannons - then you only need the four arms to build all three loadouts.
Also, the rounded shoulder pieces where the arms fit on are hollow. If you're drilling holes, the drill will go right through if you're not careful. I was lucky enough to have a drill bit exactly the same size as my magnets (not planned, that went well!) so the magnets fit right in.

But, also the arms are very heavy. My magnets held well enough, but I ended up having to build a makeshift dock to get them to stay in the menacing "up" position (as opposed to pointing straight at the base), as shown in the picture:

These are just spare bits from the kit that I didn't use, there's a flat fin nestled into the shoulder itself, and a flat piece glued in behind it to keep the elbow from slipping backwards. It's ghetto, but very functional, and allowed me to magnetize rather than building only one loadout.
Closing notes-
Also, a final note for those fighting *against* a Wraithknight, my Knight has died four times - once to a triple-lascannon Predator (should have punched it), once to an Assault from TH/SS Terminators (grrrr!) once to focused fire from Hammerheads, a Riptide, and a Buffmander's Battle Suit unit (but it took them a long time) and most recently from 28 Ork Lootas (surprisingly, didn't take them all that long).
Of the four, the TH/SS Terminators were by far the most effective and frustrating. However, I wanted to see how the Knight faired in CC with them (not bad, but it did lose). My conclusion is to avoid Terminators in CC unless you have no other choice. Especially if the Knight is in a position to keep shooting them or punching armor.
And that's that! I hope this is helpful. Good luck, and happy gaming!
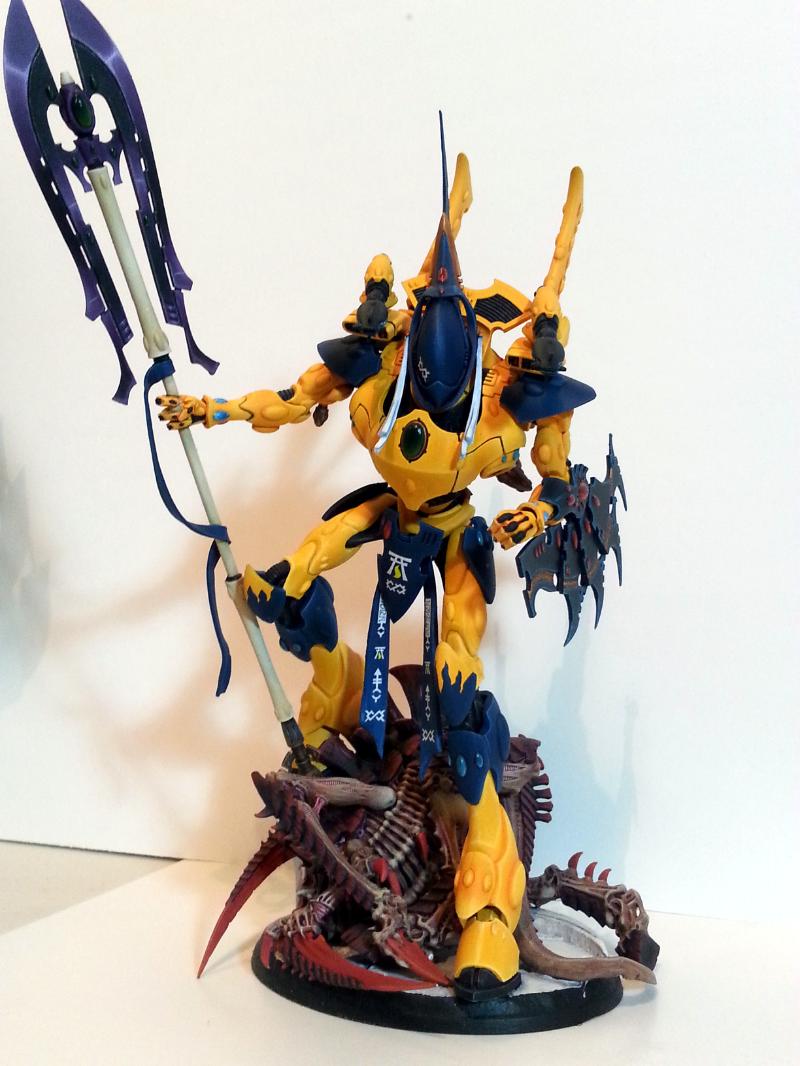
My own partially-painted Knight, with my usual loadout
So, the Wraithknight is a jack-of-all-trades who can take on several roles, each of which should fill a gap that your army *will* have after paying the points for one.
But, the best thing a Wraithknight does (no matter what loadout), is punch tanks. There is just nothing better (short of a Titan) at mincing up the battlefield and just mashing a tank line to pieces.
Step 1 - Wargear
There are three builds for taking a Wraithknight.

Also remember that any Shoulder-mounted guns on this build are a waste, because a Monstrous Creature can only move and fire two weapons per turn - and a Wraithknight should be moving.

To me, this is the best of the three. But that's because my army is not lacking in ways to deal with heavy armor as much as it is ways to deal with tough mobs (Terminators, etc). I also throw in a shoulder-mounted Scatter Laser, which makes it absurdly expensive, but adds a little extra ranged punch, and twin-links the Suncannon, thereby ensuring I get the most out of that hefty points investment.
As I mentioned, this is expensive. It's nearly the cost of a base unit of Rangers on Upgrades alone. But, it fills a niche that many armies are missing, and may well keep that other unit of Rangers you have on the table alive.
*It's worth mentioning here that anyone facing or planning to face Titans or Imperial Knights on the table will benefit most from the base Wraithknight. Very little (short of another Titan) in the game is as good at knocking HP off of a Super-heavy as Heavy Wraithcannons.
Step 2 - Deployment
This is where you don't want to wind up on turn 4: Cornered.
Wraithknights should be very aggressive, but somewhat cautions. A Wraithknight is a frightening presence on the field, and any enemy general will worry about it whether they want to or not. So, position it in a place you want to either attract fire, or that puts you as close as possible to some of those heavy tanks. With 6 Tounds, T8, and a 12" move, the Wraithknight is tough and *fast,* so getting across the board turn 2 is nearly guaranteed. Make sure you're in a place where you have mobility and can threaten things ASAP, but avoid large blobs of high Strength weapons - such as large Battle Suit units, Sternguard veterans who haven't used their Combi-shots, and Devastators.
If you have it, Fortune is a Wraithknight's best friend, especially with the Scattershield.
Also, especially watch out for large units with either Poisoned (i.e., Dark Eldar infantry) or Fearless mobs who can tie you up in combat indefinitely. Dance around these units, use your speed (and this is another point for my loadout - with Wraithcannons there's no way you could clear infantry blobs - but with a Scatter Laser/Suncannon, he'll make quick work of many of them).
Step 3 - Play
Personally, I would have had the Knights more to the front - those tanks are begging to get punched!
Similar to the above Deployment notes, what you want to avoid in Deployment is what you should also avoid in-game. D-weapons, Poison weapons, Monster Hunters, Meltaguns, Lascannons, etc. will cut right through even that meaty T8/3+. Your chances are better with the 5++, but it won't last forever.
However, hilariously (and just like Wraithlords), Bolters and anything else S4 or under can't hurt a Wraithknight at all. That makes me enormously happy!
The Wraithknight is a Jump-Monstrous Creature, meaning you can move 12" and then charge up to 12", with a re-roll to charge distance. It also gets an S10 Hammer of Wrath, has Smash (no Strength bonus, but there's something to be said for the re-roll to penetrate), and causes Fear just as icing on the cake. Plus, with a Scattershield, if you make a successful 5++ save every unit within 6" (friend and foe) has to take an Initiative test or be reduced to WS/BS 1 for until the following round. Pure gold against those punky Necrons and Tau.
I've had especially good luck moving my on-foot Seer Council up behind the Wraithknight. That way, I can Fortune the 'Knight and give cover to my Seers. It's a great way to move both up the field and keep them both safe(r) at the same time.
Keep moving, use your guns at range, and pick targets early to get up close and personal with. Remember that if you're too cautious, the big guns will get you anyway, so take them out fast.
Some notes on the model:
If you haven't already picked one up, the Wraithknight kit is absolutely beautiful. It's an amazing plastic kit that's a blast to build. Although not very customizable compared to many others, the weapon options and how they attach to the arms allow for a little personalization. Some added bits and creative basing will do wonders for a centerpiece such as this!
My one quibble- the kit as produced only gives you enough arms for two loadouts. That is, two. There are four arms and a total of five weapons you can carry:
Left arm: Scattershield, Heavy Wraithcannon
Right arm: Wraithsword, Suncannon, Heavy Wraithcannon
Shown here: all four arms used and magnetized, and the orphaned Sword.
It's worth saying though, that if you really want to use the whole kit, you could use one of the Wraithcannons as the Suncannon, or Suncannon as one of the Wraithcannons - then you only need the four arms to build all three loadouts.
Also, the rounded shoulder pieces where the arms fit on are hollow. If you're drilling holes, the drill will go right through if you're not careful. I was lucky enough to have a drill bit exactly the same size as my magnets (not planned, that went well!) so the magnets fit right in.
But, also the arms are very heavy. My magnets held well enough, but I ended up having to build a makeshift dock to get them to stay in the menacing "up" position (as opposed to pointing straight at the base), as shown in the picture:
These are just spare bits from the kit that I didn't use, there's a flat fin nestled into the shoulder itself, and a flat piece glued in behind it to keep the elbow from slipping backwards. It's ghetto, but very functional, and allowed me to magnetize rather than building only one loadout.
Closing notes-
Also, a final note for those fighting *against* a Wraithknight, my Knight has died four times - once to a triple-lascannon Predator (should have punched it), once to an Assault from TH/SS Terminators (grrrr!) once to focused fire from Hammerheads, a Riptide, and a Buffmander's Battle Suit unit (but it took them a long time) and most recently from 28 Ork Lootas (surprisingly, didn't take them all that long).
Of the four, the TH/SS Terminators were by far the most effective and frustrating. However, I wanted to see how the Knight faired in CC with them (not bad, but it did lose). My conclusion is to avoid Terminators in CC unless you have no other choice. Especially if the Knight is in a position to keep shooting them or punching armor.
And that's that! I hope this is helpful. Good luck, and happy gaming!
Comments
Post a Comment