
Game 1, Eldar vs. Ultramarines
Over the past few months I've squeezed in several 40k games, but not managed to post anything about them here. I don't have enough pictures to do full Battle Reports but I can narrate the individual pictures a bit. Without further ado (since there's a lot to cover!) here are the games:
Game 1: Eldar vs. Ultramarines!
The cover photo for this entry was the Deployment for this game, another match vs. the good 'ol Smurfs. As shown above, we played long-table (ick), Eldar got first turn, and there was no night fighting.
True to form, I started out the game by rolling a Perils on my Jetbike Warlock's Conceal power, killing him and two others Guardian Bikes (note the gap in my Jetbike formation above) in the Psychic Fallout. Not the best start...
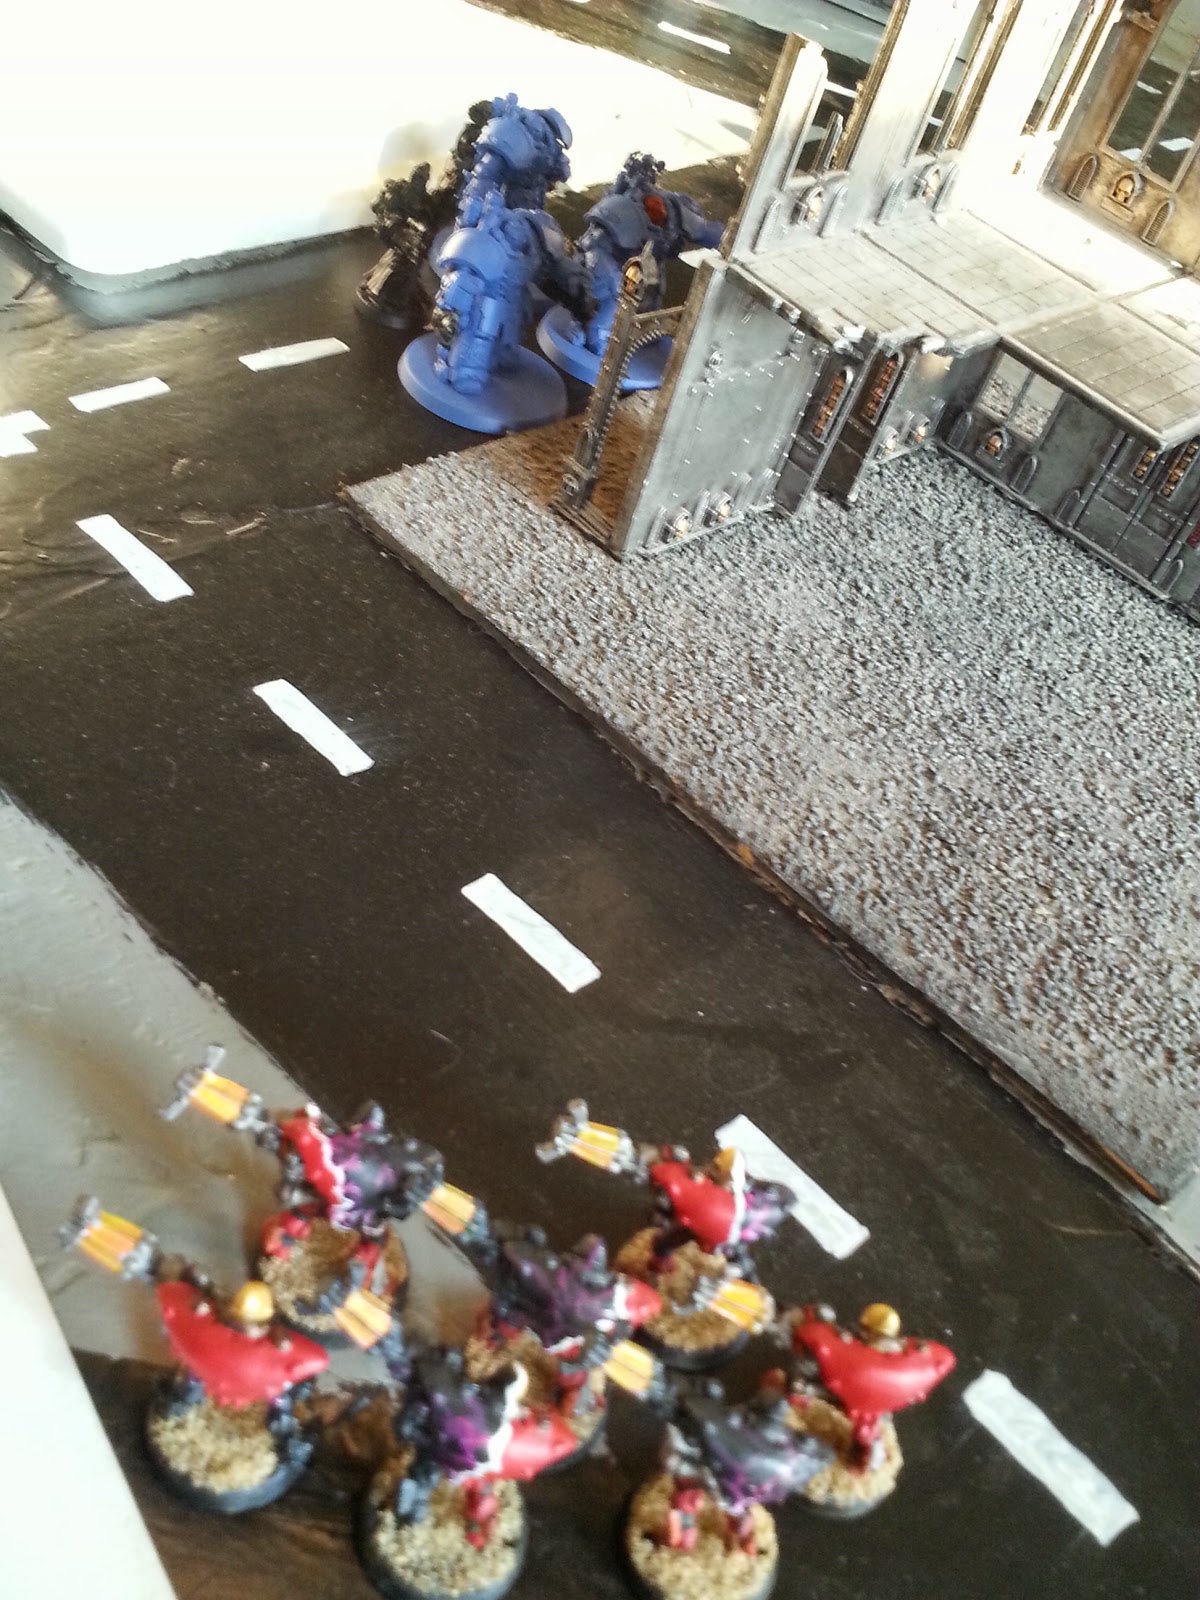
My Warp Spiders popped up to try to do some damage to the much-feared Grav. Centurions, and maybe even poach Slay the Warlord in the process.
With Seven Spiders I was pumping out 14 S6 shots (with Guide for the to-hit re-rolls), with the chance for some AP1 auto-wounds in there. I had to do some damage to the Centurions or I'd never shift them, and I hoped to do a fair amount, because my Spiders are dead on his turn.

Alas, this was my to-wound roll with all of those shots. That single 6 scored the one and only wound from the whole ferocious volley, the other five were easily saved by the Centurions beastly 2+ save.

And the predictable result was a sadly empty space where the Spiders had been...

Throughout the game my Knight and Dark Reapers traded shots with that Lascannon Razorback, and the Lascannon Dreadnought not visible in this shot. I did some damage, but overall the big blues did more damage than they took for most of the game. I couldn't get in close for fear the Centurions would one-shot my Knight again.

Quick snapshot of the end of turn 1

In this game I rolled only "Sabotaged!" results on my Mysterious Objectives, while I believe every one he uncovered was a Skyfire Nexus. Ultramarine's superior tactics at work it seems, aside from the fact that I didn't take a Flyer!

The Ultrasmurfs classic Strategy: Tactical Marines falling from the sky and abusing those Chapter Tactics. They laid into my Jetbikes, angling for Slay the Warlord, but the Bikes made some truly excellent saves and only lost another one Bike.

...And this is where the plucky Tacticals had placed themselves, immediately before the Eldar shooting phase. Toughness 4 and a 3+ save will go a long way, but not against this.

Between mass shooting and Assaults, the Tactical Marines were almost completely taken down. However, that cleverly-placed Drop Pod resisted the efforts of my Fire Dragons, winding up Wrecked rather than exploded, and sat there as a remarkably effective brick between my Wraithblades and the action for several turns.

While unable to make much headway, the Knight has been doing its job as a Centurion-repellent magnificently, the Centurions didn't want to set foot in front of that wall lest they face a Suncannon.

Finally took out that Razorback! Next, it's the Dreadnought's turn!

A nice dramatic shot, including my in-progress freehand-work on the Knight.
All in all this game vs. Ultramarines was largely uneventful, but we were reasonably even on Victory Points. Unfortunately, we had to cut the game short when our significant others came home and needed the table for dinner. So, we called it a draw!
Game 2: Eldar vs. Orks!

The Ork deployment first. Once again we rolled Long Table (ugh, although less bad against Orks) and the Orks took first turn. At first I was relieved, because that looked like a small Ork army. Then I remembered that every one of those vehicles is packed to the brim with Orks...

The entire army moved forward. Infantry ran, Vehicles stuck to cover rather than going flat-out (which would have put me in a tight spot real fast!)

In brutal Eldar form, the Serpent, Knight and cannon-toting Jetbikes vaporized the unit of Stormboyz that had been blitzing up the table. A Trukk takes the forward Objective in their place, unscathed with so few guns left to shoot.

After that the Orks were scared, dead scared, and tried their darndest to not get close to that firing lane. They could have easily clogged my guns with bodies, but I also understand the hesitation...

With this wall pushing them into a corner, my Warp Spiders did a risky Warp Jump into terrain (making their dangerous terrain tests, whew!) to lay into that Battlewagon before they're brought down. They did a real number on it, scoring an Explodes! result and jumping away, before being shot to shreds the following turn (shot, by Ork Boyz. How embarrassing!)

Vanity shot. I love these models, and it's somewhat rare to see one unpainted where you can really see the detail. That said, can't wait to see some color!

Note the crater full of Meganobz where once there was a Battlewagon. The Eldar are cramming into a corner to stay as far away from all of that business as possible, but holding their own with sheer, brutal, firepower.

This was around turn 4 - when I realized that although I was holding my own by kills, the Orks were *destroying* me in Victory Points, having scored nearly every Objective Marker and several Ork-specific Objectives. So I moved up, to try to make a game of it.

Things got interesting then. The Orks were thinned out and hanging back, but still more than nasty enough to obliterate my entire army if I got too close!

That said, my Bikes and Serpents were still so scary that they avoided me thoroughly.

Note the completely empty firing lane...

This poor Artillery unit was blasting away at me for half the game, then spent the latter half of the game running for the hills after multiple hits with Terrify.

Blurry Dire Avengers picture, these guys jumped out just to get into the game

The Big Mek rolled one of those ever-awesome shooting results, firing himself instead of a gunshot. This misfire still landed him right on top of my Wave Serpent, which was already spitting smoke on a single hull-point left! I was very nervous here.
Luckily the Big Mek's Falcon-PUNCH went wide, allowing the Serpent to escape for another day!

This is near the end, when I *finally* got my Wraithblades into combat. Which, it turns out, was exactly where I didn't want them...

In Turn 6, I made a run for three Hail Mary Objective grabs, risking it all to try to get the points to close the VERY wide gap in our scores. Here, my Warlord left his unit to grab this one.

The Dragons did a dead sprint to reach this one (the Trukk is Wrecked)

And the remainder of the Warlord's unit went Flat-Out to take this one.
One unpictured, and truly stellar, moment was when my four Dark Reapers were finally caught in an edge of the Green Tide. A mob of Boyz (down a few, but still strong) charged the Reapers, and took a few casualties to Overwatch, including a wound on the Nob. Then, my Exarch challenged him, and killed him in close combat!! I was so proud!
Then the unit was obliterated, but it was worth it!
At the end of this game, despite me getting most of the Kill Points, the Orks destroyed me almost 2 to 1 in terms of Victory Points. It was, by any standard, a crushing defeat.
Game 3: Eldar vs. Salamanders!

In this game we rolled Dawn of War deployment, not long-table (FINALLY!) Salamanders got first turn, no Night Fighting. I deployed everything in a back corner, because that Predator is being played as some Forgeworld tank that has a Strength 8, AP1, Melta Large Blast for a main gun. That wasn't getting anywhere near my Serpents!
Then again, on his right flank (just out of this picture) he still had two Multi-Melta dreadnoughts, so it wasn't much safer.

He moved up a little, to cover the center field and threaten the center with Multi-Meltas, but hung back a bit on my right. On my left, however, he brought everything screaming up the field. He had a unit of 10 Sniper Scouts try to take out my Reapers, angling for First Blood (I was *really* glad he didn't shoot that many Sniper shots at my Knight...) he did wind up killing one, but they made Leadership, and returned fire!

This is a few turns later, my flank is moving up, and he's moved a Rhino to support the Dreadnoughts. One of those Dreadnoughts lost two HP to the Wave Serpent

The following turn, this is turn 3, and I'm making a grab for mid-field objectives. The Rhino was busted by the Jetbike Cannons (the Tactical unit inside promptly ran to challenge the Dire Avengers around the corner rather than tangle with the Dragons).

This guy was once one of 7, and then not only blew up a Rhino, but survived the whole game, while camping on a "Sabotaged!" Objective

Things got interesting here, Vulcan and a unit of Terminators with an Assault Cannon deep-struck in that corner. The Knight's Suncannon did terrible damage to them, leaving only one and Vulcan himself standing. He moved the survivors up to guarantee the assault on the Knight!

The Dire Avengers' Serpent dumped them out on a point, then wedged itself in place to hopefully deny that Dreadnought the charge. The bikes zipped up, while the Dragons obliterated that Dreadnought.

Just before the charge, another shot of my in-progress work on the Knight. I can only imagine how that Tactical Marine unit would be feeling at this moment.

Aaaaaaand this is how that Wave Serpent's charge-lane block turned out, cratered. Luckily, the Bikes hopped that wall and were able to nail the Dreadnought with their Cannons, and we called it game around them. In terms of Victory Points it was around six to ten in my favor, end of Turn 5.
Great game!
That's a wrap! I hope this wasn't too long or unclear, comment if you're interested in Army Lists or any particular moments in-game. I'll try to do a single BatRep that's actually blow-by-blow next time
Comments
Post a Comment